

Types, Applications, Cutting Techniques and Professional Tips
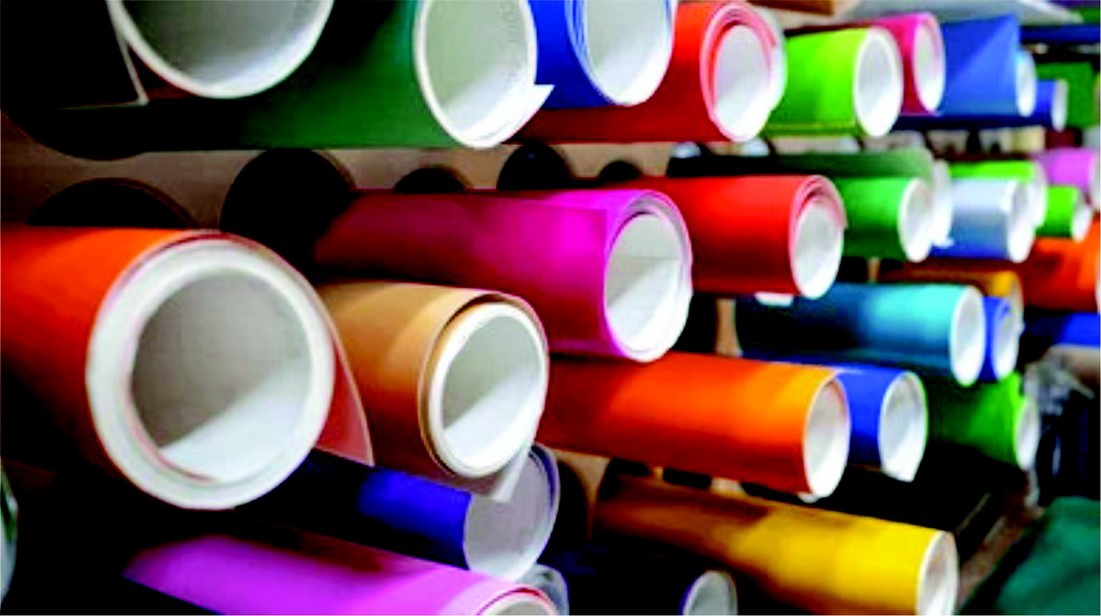
Self-adhesive vinyl in South Africa is one of the most versatile materials used in the signage, advertising, decorating and crafting industries. It consists of a coloured or printable surface layer combined with a pressure-sensitive adhesive and a protective backing paper. This construction makes it easy to apply to a wide variety of smooth surfaces without requiring heat or additional bonding equipment.
From personalised household decorations and promotional products to vehicle branding and commercial signage, self-adhesive vinyl offers an effective solution for both personal and professional applications.
Unlike Heat Transfer Vinyl (HTV), which requires heat to attach designs to fabric, ordinary self-adhesive vinyl is applied directly to a suitable surface using pressure.
Whether you are experimenting with a home cutting machine or managing a professional signage business, understanding the different vinyl materials, their applications and correct installation techniques will help you achieve better results.
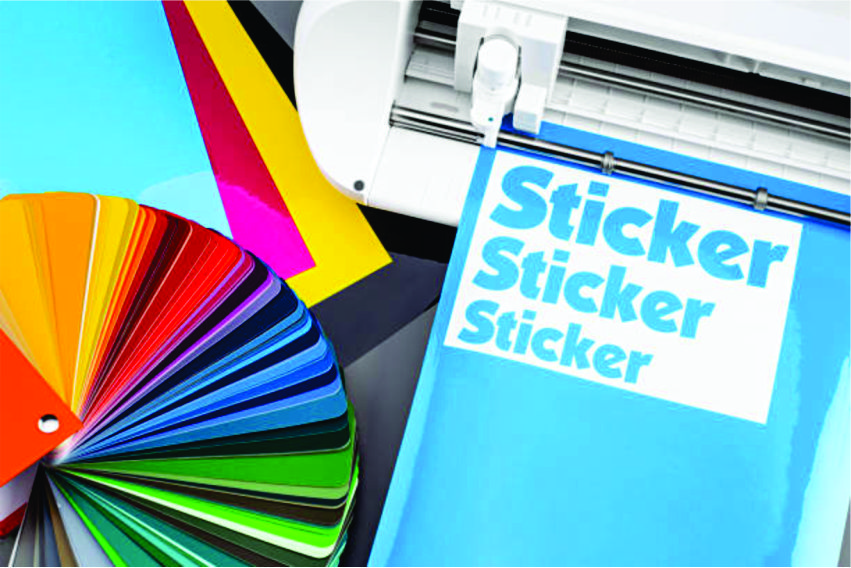
1. Understanding the Construction of Self-Adhesive Vinyl
1. Understanding the Construction of Self-Adhesive Vinyl
Before selecting vinyl for a project, it is useful to understand how the material is made. Most conventional self-adhesive vinyl products consist of three main layers.
1.1 Face Film
The face film is the visible upper layer of the vinyl. It provides the colour, finish, texture or printable surface.
Depending on the product, the finish may include:
• Gloss vinyl for a bright, reflective appearance.
• Matte vinyl for a smooth, non-reflective finish.
• Metallic vinyl for decorative applications.
• Holographic vinyl for distinctive visual effects.
• Glitter vinyl for decorative and creative projects.
• Printable vinyl for customised graphics and signage.
1.2 Adhesive Layer
The adhesive is the bonding component that allows the vinyl to attach to a surface.
Most self-adhesive vinyl uses pressure-sensitive adhesive technology. This means the material sticks when pressure is applied during installation.
Adhesives are generally available in permanent and removable formulations. The correct choice depends on the intended application and how long the vinyl needs to remain in place.
1.3 Release Liner
The release liner is the protective backing covering the adhesive before application.
It prevents the vinyl from sticking to unwanted surfaces during storage, handling and cutting. The backing is removed when the material is ready to be installed.
Understanding these three components makes it easier to select suitable vinyl for different applications.
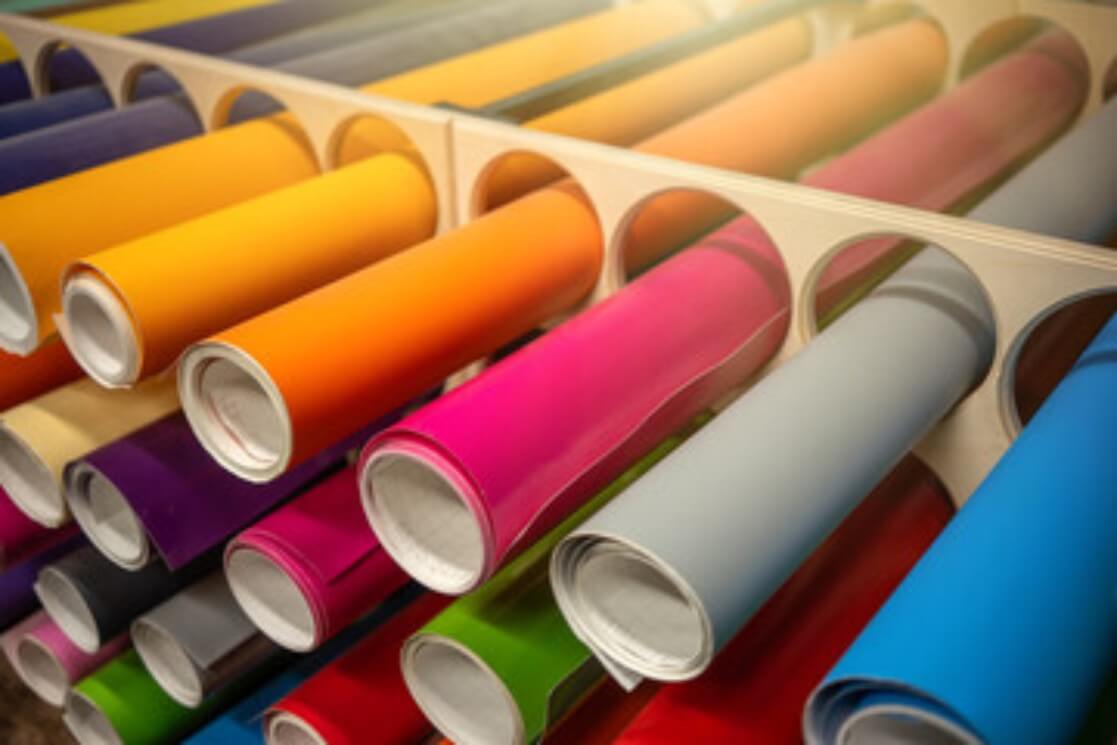
2. Permanent vs Removable Self-Adhesive Vinyl
One of the most important decisions when purchasing self-adhesive vinyl is choosing between permanent and removable adhesive.
Each option has different characteristics and is intended for particular applications.
Permanent Adhesive Vinyl
Permanent vinyl is designed to provide a stronger, longer-lasting bond. It is commonly selected for applications where the graphic needs to remain attached for an extended period.
Typical uses include:
• Vehicle graphics and decals.
• Outdoor advertising signs.
• Branded mugs and suitable hard surfaces.
• Shopfront lettering.
• Business and promotional signage.
Removing permanent vinyl can be difficult, and adhesive residue may remain behind. On delicate painted surfaces, removal may also cause damage.
Removable Adhesive Vinyl
Removable vinyl is designed for applications where graphics may need to be changed or taken down later.
It is particularly useful for temporary promotions, indoor decorations and projects involving rented spaces.
Common applications include:
• Wall decorations.
• Temporary promotional displays.
• Indoor lettering.
• Decorative stencils.
• Short-term advertising graphics.
It is generally easier to remove than permanent vinyl, although results depend on the surface, adhesive formulation and length of application.
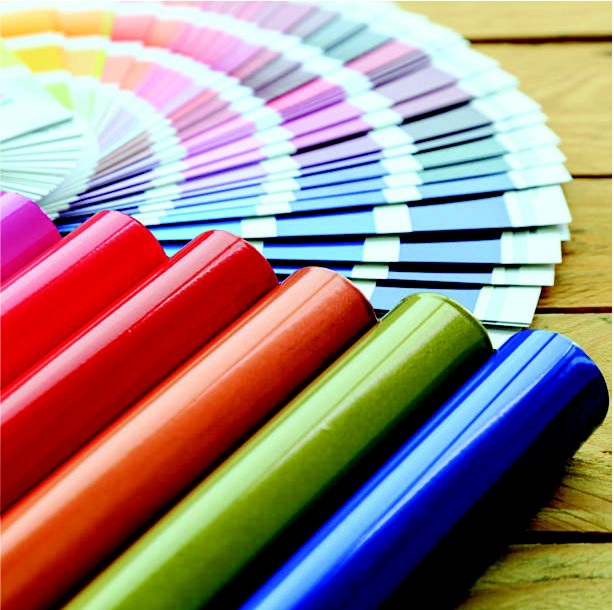
Comparison of Permanent and Removable Vinyl
Feature:
Adhesive strength
• Typical finish
• Indoor lifespan
• Outdoor lifespan
• Typical applications
• Removal
Permanent Vinyl:
• Stronger, long-term bond
• Gloss or matte
• Approximately 5–7 years
• Approximately 3–5 years
• Vehicles, mugs & outdoor signs
• May leave residue
Removable Vinyl:
• Designed for easier removal
• Frequently matte
• Approximately 1–2 years
• Weeks to a few months
• Wall decal & temporary
• Generally easier to remove displays
Note: Lifespans are indicative figures from the source material. Actual durability varies according to the vinyl manufacturer, product specification, installation conditions and exposure to sunlight and weather.
3. Understanding Vinyl Grades: Monomeric, Polymeric and Cast
For professional signage and large-format printing, self-adhesive vinyl is commonly classified into three main material grades.
The differences relate to the manufacturing process, flexibility, dimensional stability and intended application.
3.1 Monomeric Vinyl
Monomeric vinyl is generally an economical option for short-term signage and promotional work. It is manufactured using shorter-chain plasticisers. Over time, particularly when exposed to outdoor conditions, the material may shrink or experience dimensional changes.
Recommended applications include:
• Indoor promotional displays.
• Short-term advertising.
• Flat surfaces.
• Temporary signage.
• Budget-conscious projects.
It is a practical option when a lower-cost material is required and long-term outdoor performance is not essential.
3.2 Polymeric Vinyl
Polymeric vinyl is manufactured using longer-chain plasticisers, giving it improved dimensional stability compared with monomeric vinyl. It is better suited to outdoor environments and applications requiring greater durability.
When combined with an appropriate protective laminate, certain polymeric products can provide an outdoor lifespan of approximately three years.
Typical applications include:
• Outdoor advertising boards.
• Shop signage.
• Commercial displays.
• Flat and slightly curved surfaces.
• Medium-term promotional graphics.
For signage businesses, polymeric vinyl provides a useful balance between cost and performance.
3.3 Cast Vinyl
Cast vinyl is considered a premium material for demanding signage and vehicle graphic applications. During production, liquid PVC is cast into a thin film. This manufacturing process produces a flexible material with excellent dimensional stability and minimal shrinkage. Its flexibility allows it to conform to more complicated shapes and curved surfaces.
Common applications include:
• Vehicle wraps.
• Fleet branding.
• Deeply contoured surfaces.
• Complex vehicle panels.
• Professional commercial graphics.
Cast vinyl is particularly suitable for applications where flexibility, appearance and long-term performance are important.
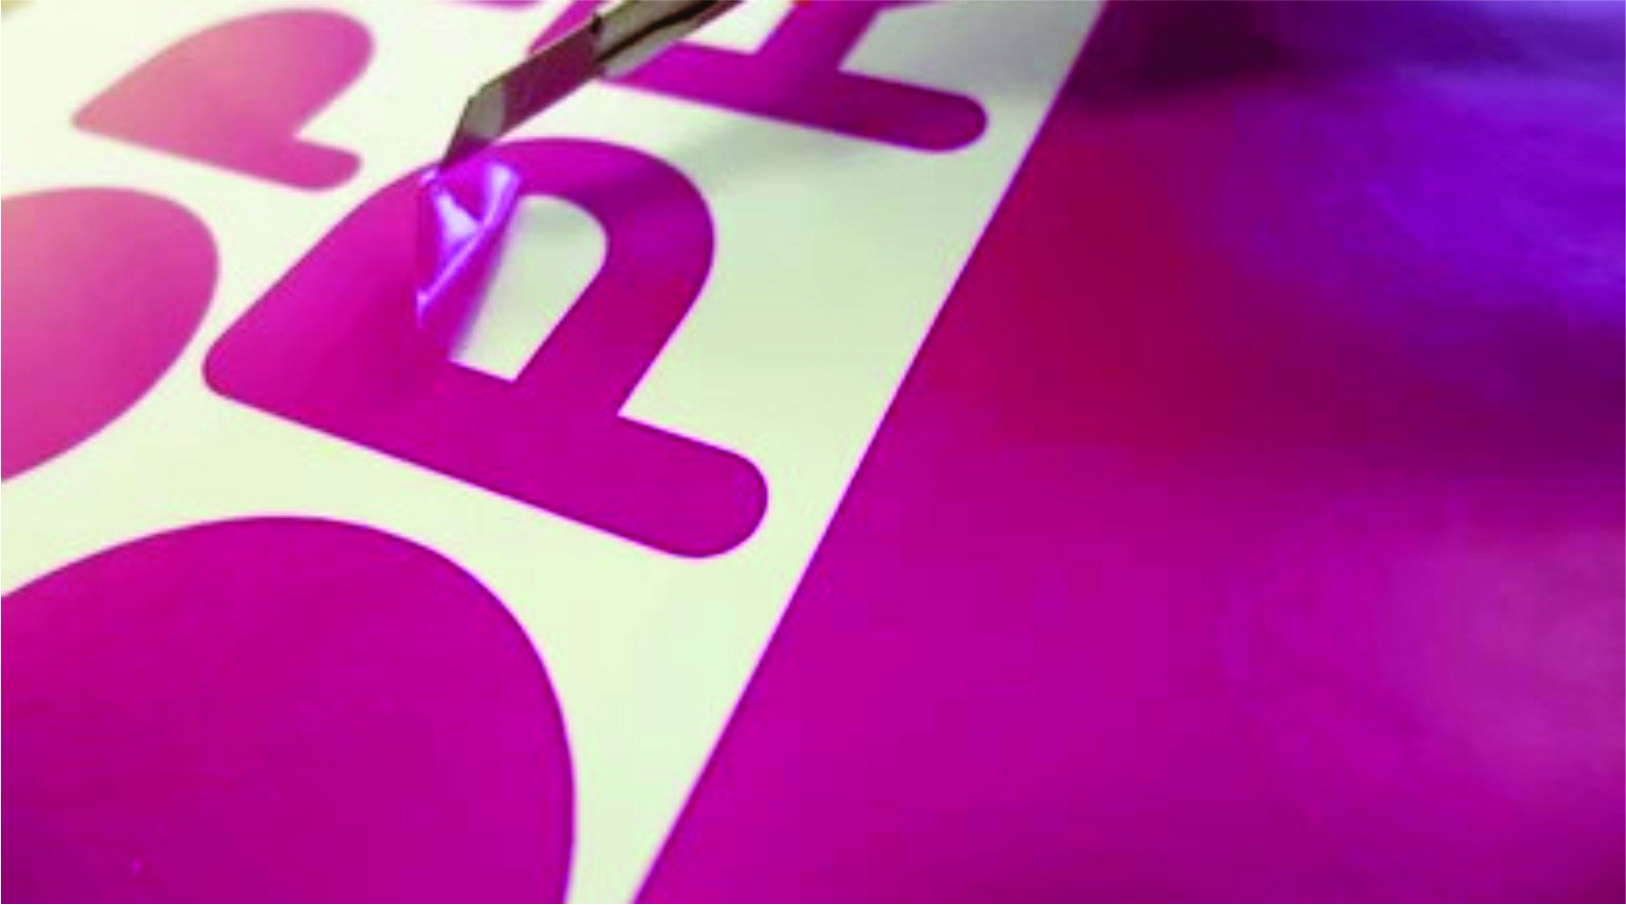
4. Step-by-Step Guide to Working with Self-Adhesive Vinyl
Cutting and applying vinyl correctly is essential for achieving clean, professional results. Popular cutting machines, including the Cricut Maker and Silhouette Cameo, allow users to produce detailed designs for personal and commercial projects.
The following steps provide a practical introduction.
Step 1: Preparing and Cutting the Vinyl
– Begin by placing the self-adhesive vinyl onto the cutting mat with the coloured or patterned surface facing upwards.
– Unlike Heat Transfer Vinyl, ordinary adhesive vinyl designs generally do not need to be mirrored before cutting.
– Adjust the cutting machine settings according to the material being used.
– The objective is to achieve a kiss cut. This means the blade cuts through the vinyl film without cutting through the release liner underneath.
– Correct cutting settings help prevent material wastage and make the next stage easier.
Step 2: Weeding the Design
– Weeding is the process of removing unwanted vinyl from around and inside the cut design.
– After cutting, use a specialised weeding hook or suitable pointed tool to lift away the excess material.
– For complicated designs containing small lettering or detailed patterns, consider adding weeding boxes in your cutting software.
– These additional cut lines divide larger waste areas into smaller sections, making the material easier to remove.
– Take your time during this stage to avoid accidentally lifting small letters or decorative elements.
Step 3: Applying Transfer Tape
Transfer tape is used to move a completed vinyl design from its backing paper onto the final application surface.
It helps maintain the correct positioning of individual letters, shapes and design elements.
Two common options are available:
Standard Grip Transfer Tape
Suitable for most everyday adhesive vinyl applications, including permanent, removable, metallic and holographic materials.
Strong Grip Transfer Tape
Designed for more textured materials, including certain glitter and shimmer vinyl products. If strong grip tape is too adhesive, it may be difficult to separate it from the vinyl after application. One way to reduce its tackiness slightly is to press it against a clean, low-lint fabric surface before using it. Always test first to avoid introducing dust or fibres.
The Taco Method
The taco method is a convenient technique for positioning transfer tape.
1. Cut transfer tape slightly larger than your vinyl design.
2. Hold the tape and gently bend it into a U-shape.
3. Position the centre of the tape over the middle of the design.
4. Lower the centre first, then gradually press the sides down.
5. Use a scraper tool to burnish the tape firmly.
6. Carefully lift the transfer tape together with the vinyl design.
7. Remove the original release liner.
This technique helps reduce wrinkles and air pockets during transfer.
Step 4: Preparing the Application Surface
A clean surface is essential for good adhesion.
Before applying the vinyl, remove dust, grease, fingerprints and other contaminants.
Suitable cleaning methods depend on the material being decorated. Isopropyl alcohol can be used on compatible surfaces such as glass and certain finished materials.
Allow the surface to dry completely before continuing.
Always check that the cleaning product is compatible with the surface and test an inconspicuous area when necessary.
Step 5: Applying the Vinyl
Position the design carefully before allowing the adhesive to make full contact with the surface.
For larger designs or projects involving multiple colours, use a positioning technique to maintain accurate alignment.
Press the vinyl down gradually, working from the centre towards the outside edges.
Use a scraper or squeegee to apply even pressure and reduce trapped air.
Once the vinyl is firmly attached, slowly peel away the transfer tape at a low, controlled angle.
If any part of the design begins lifting, lay the transfer tape back down and burnish that section again.
5. Professional Crafting Tips and Techniques
A few additional techniques can make vinyl application easier, especially when working with detailed designs or larger projects.
5.1 Reverse Weeding for Detailed Designs
Small letters, fine lines and intricate decorative elements can be difficult to weed without accidentally removing important parts of the design.
Reverse weeding provides an alternative approach.
Instead of removing the unwanted vinyl first:
1. Apply transfer tape over the entire cut design.
2. Turn the design over.
3. Carefully remove the release liner.
4. Use a weeding tool to remove the excess vinyl from the adhesive side.
5. Allow the transfer tape to hold the small design elements in position.
This method can be particularly useful for detailed lettering and designs containing tiny decorative features.
5.2 The Clipboard Technique for Large Vinyl Applications
Applying large pieces of vinyl can be challenging because the material may wrinkle or develop air bubbles.
The clipboard technique offers a practical solution.
Start by exposing a small section of the adhesive backing and carefully aligning the vinyl with the target surface.
Use a flat, rigid tool such as a squeegee to gradually press the material into position.
At the same time, slowly pull the remaining release liner away from underneath the vinyl.
Continue working in small sections until the entire design has been applied.
This controlled process helps improve alignment and reduce unwanted creases.
5.3 Printing Directly onto Self-Adhesive Vinyl
Self-adhesive vinyl is also available in printable formats.
Specialist signage printers use printing technologies such as UV-curable and eco-solvent ink systems to produce customised graphics.
Depending on the vinyl and ink system, printed material can be used to create:
• Custom advertising graphics.
• Promotional stickers.
• Product labels.
• Vehicle graphics.
• Shopfront branding.
• Outdoor signage.
The correct combination of printable vinyl, ink and protective laminate is important when producing graphics intended for outdoor use.
6. Creative Project Ideas Using Self-Adhesive Vinyl
Self-adhesive vinyl can be used for much more than traditional advertising signs.
It offers opportunities for personalisation, decoration and commercial creativity.
Here are some project suggestions arranged according to skill level.
Beginner Projects
Ideal for people who are new to vinyl cutting:
• Personalised coffee mugs.
• Simple wall decals.
• Custom laptop decorations.
• Phone skins.
• Basic lettering and labels.
Intermediate Projects
Suitable for users who have gained experience with cutting and application:
• Multi-colour window graphics.
• Personalised pantry labels.
• Decorative storage containers.
• Outdoor porch signs.
• Layered promotional designs.
Advanced Projects
These projects require greater precision and experience:
• Vehicle decals and wraps.
• Full-surface furniture transformations.
• Detailed wall murals.
• Large-format commercial graphics.
• Complex fleet branding.
For signage businesses in South Africa, these applications offer opportunities to serve customers in retail, hospitality, construction, transport and many other industries.
7. Troubleshooting Common Vinyl Application Problems
Even experienced vinyl users occasionally encounter problems during cutting and installation.
Understanding the most common issues can help prevent wasted material and improve the final result.
7.1 Air Bubbles
Air bubbles can form when vinyl is applied unevenly or when air becomes trapped underneath the material.
Possible solutions:
• Apply vinyl gradually rather than all at once.
• Use a suitable squeegee.
• Work from the centre towards the outside edges.
• Consider wet application only when the vinyl manufacturer’s instructions permit it.
• Use a fine pinprick technique for suitable small, trapped air bubbles.
7.2 Peeling Edges
Vinyl edges may begin lifting when the application surface has not been properly prepared.
Other contributing factors include excessive stretching, unsuitable adhesive or poor application conditions.
Possible Solutions:
• Clean the surface thoroughly before application.
• Remove grease and other contaminants.
• Avoid stretching the vinyl unnecessarily.
• Apply firm, even pressure.
• Follow the manufacturer’s installation recommendations.
7.3 Cutting Problems
Incorrect blade depth or cutting pressure can result in incomplete cuts or damage to the release liner.
Possible solutions:
• Check the blade condition.
• Adjust the cutting pressure.
• Select the correct material setting.
• Perform a test cut before starting a large project.
• Aim for a clean kiss cut that leaves the backing paper intact.
7.4 Alignment Errors
Incorrect positioning can affect the appearance of lettering, logos and decorative designs.
Possible solutions:
• Use transfer tape for accurate positioning.
• Mark alignment points before application.
• Use the hinge method with painter’s tape.
• Check the position before removing the release liner.
• Apply larger designs gradually.
Taking a little extra time during preparation can significantly improve the finished result.
8. Frequently Asked Questions About Self-Adhesive Vinyl in South Africa
8.1 Which self-adhesive vinyl brands are suitable for outdoor applications in South Africa?
Some of the brands identified for consideration in the South African market include:
• ASLAN.
• X-film.
• HEXIS.
When selecting vinyl for outdoor signage, consider the product’s durability rating, adhesive specification, UV resistance and suitability for the intended application. Always consult the manufacturer’s technical data sheet before purchasing.
8.2 What different durability options are available for self-adhesive vinyl?
Self-adhesive vinyl is available in different grades and durability classifications.
Depending on the manufacturer and product range, options may include:
• Approximately two-year materials for indoor applications and promotional work.
• Approximately five-year materials for general outdoor signage.
These figures are indicative and should not be treated as universal guarantees. Actual performance depends on the specific product and installation conditions.
8.3 Which self-adhesive vinyl brands are popular in South Africa?
Brands identified for consideration include ASLAN, X-film and HEXIS.
The best choice depends on the application, required finish, expected lifespan and available budget.
For professional signage projects, it is important to match the material specification to the customer’s requirements.
8.4 Where can I purchase self-adhesive vinyl sheets in Cape Town?
If you are looking for self-adhesive vinyl sheets for crafting, signage or promotional applications, you can place an order through our online store.
Alternatively, you can email your order or product enquiry to:
admin@signequipmentservices.co.za
Our aim is to help customers find suitable vinyl materials for their creative and professional projects.
9. Final Thoughts
Self-adhesive vinyl is a practical and versatile material that connects creative crafting with professional signage production. Its wide range of colours, finishes, adhesive options and material grades makes it suitable for projects of different sizes and complexity.
Understanding the differences between permanent and removable adhesives, as well as monomeric, polymeric and cast vinyl, allows users to make more informed material choices. Correct cutting, weeding, transfer tape selection and surface preparation are equally important when aiming for a neat and durable finish.
Whether you are producing a personalised gift, decorating your home, creating promotional material or installing commercial signage, selecting the correct vinyl and applying it properly will help you achieve professional-looking results.
Choose the right vinyl. Apply it with confidence. Create something exceptional.
For self-adhesive vinyl products and signage materials in South Africa, visit our online store or contact:
Sign Equipment Services Email: admin@signequipmentservices.co.za